3D Rendering Applications
This section discusses issues with exporting 3D Microstation files to other rendering programs, as well as some of the visualization techniques possible with those programs.
Converting Models to other 3D Programs
There are two key things to keep in mind when preparing models for export to outside 3D applications. The first is good organization of the level structure and naming conventions. Much of this organization is defined in FLHD CAD standards for standard elements, but as new elements are created for 3D models, it is essential to use descriptive naming of levels for convenient export. In most cases, level names are the only information passed on with the geometry.
In the case of export for 3D Studio Max, the most efficient method is to save the model directly as a DWG file (Microstation V8), where the default is to pass on level naming to layers in the DWG. There is an option in the Save as dialog for DWG to remap level names to specific layer names in the AutoCAD file. This feature is useful if the levels are left in the original numbered format. They can easily be remapped to layers with names in the new file, the names on the layers are then passed on as object or group names in the 3D Studio Max file. AutoCAD DWG files can be imported directly into 3D Studio Max without going through another conversion step. Objects with logical names save an immense amount of time and effort on the final production end. At a minimum, an organized list of level numbers and their contents is useful.
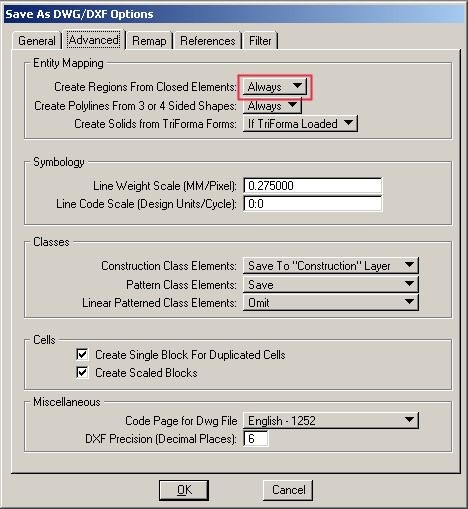
Another key issue when exporting models to other rendering applications is the correct surfacing, or 'capping' of polygons. For export to DWG, there is a setting in the options dialog that must be set to ensure that all polygons are capped. When you have the "Save As" dialog open, select the options button, and select the "Advanced" tab.
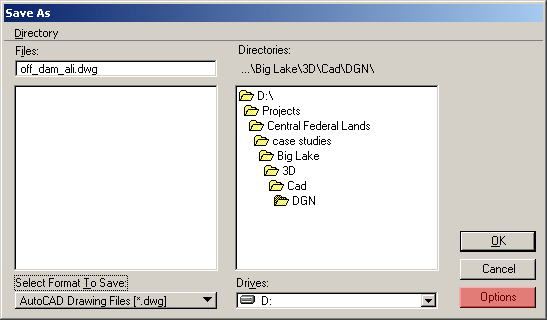
Under "Cap Closed Polygons" set to 'always' or 'when 3D'. This will ensure that these polygons are converted to faces.
External References
Reference files can be a particular problem during conversion. The safest method is to convert all files separately and then re-assemble in the final 3D model. The export to DWG allows a conversion to a DWG with linked XRef files- all of the individual reference files are converted separately; or the references can be merged into one single DWG at export time. This could be problematic if the files are large- the merged file may be too big to handle.
If there are texture maps in the model, be sure to include those with any files sent to a 3D modeler.
Rendering and Animation in 3DS Max
3D Studio Max from Autodesk Media and Entertainment (formerly Discreet) is the most commonly used high-end 3D rendering and animation application for the transportation engineering community. The program allows the application of texture maps and shaders to objects, the addition of sophisticated lighting, and the animation of the virtual camera and objects within the scene. The camera creation tools and rendering controls allow for the creation of very realistic views of a design model.
There three primary ways the tool is used for design visualization: static detail renderings of 3D model elements, rendering for photosims, and fully immersive 3D models for animation.
Static Renderings
A useful way to evaluate design details or small segments of a project is to model just enough of the project to create a detailed, focused view of a project detail. This method would be useful to evaluate a column design or railing detail for instance. Only enough surrounding detail needs to be modeled to give the view a bit of context. Photoshop can be used after the view is rendered to add in landscaping details, cars and people, or to touch up any minor problems with the 3D model.
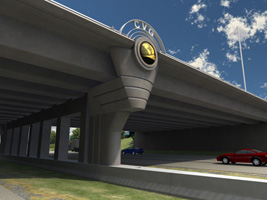
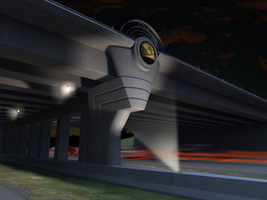
Two static renderings of 3D model of a pier
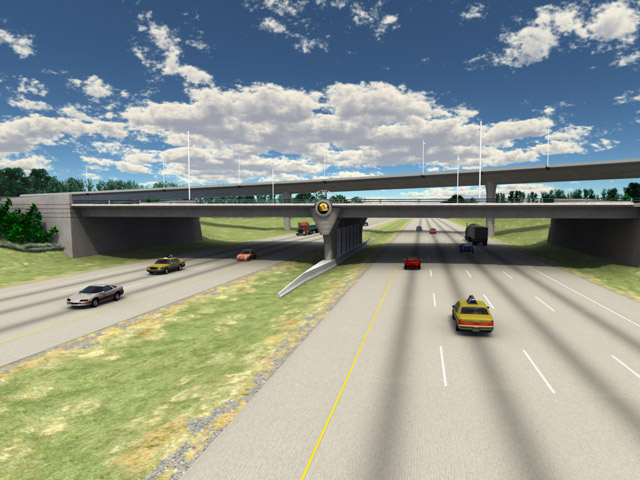
Oblique view of entire intersection, everything is in the 3D model.
Rendering for PhotoSims
Rendering for photosims is similar to a static model rendering, except that the extent of modeling required, and the lighting used are determined by the background photo. The model is 'camera-matched' to the background image, and the lighting is set up to match the lighting in the photo, both in direction to the light source, and the quality of the light- direct or diffuse. The designer has to look closely at the photograph to determine the direction from which the light is coming. Photoshop can then be used to correct any color problems with the lighting, and to help blend the rendered image into the background.
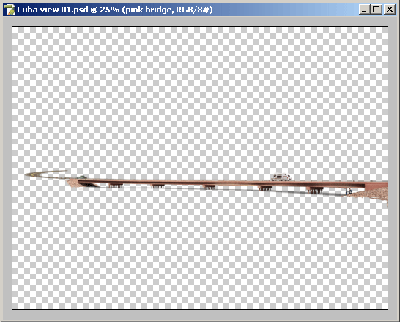
Rendered elements for photosim

Final Photosimulation Composite
Animation
A model produced for animation has to have enough detail to accommodate whatever the camera will see as it moves through the scene. This is not to say that EVERYTHING in the vicinity needs to be modeled, only those things that will be directly visible along the camera path. It is advisable to start developing a camera path early on in the process to help drive what in the project and surrounding will need to be built.
The type of camera view determines the level of model detail needed as well. An aerial fly-over of a project will not need as much model detail as an eye-level drive through. A drive-through may not need as much surrounding context as a fly-over.
The following model and animation was used to evaluate color schemes for the proposed structures. Just enough detail on the road and structures was built to give an idea of the final look, and a photo was used as a background object to give some appropriate context.
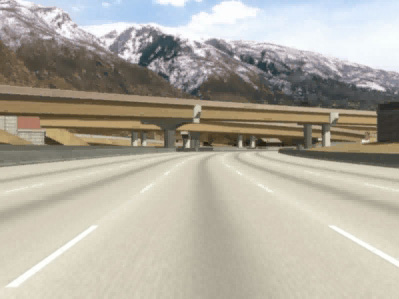
Download the visualization video (8.1MB AVI file)
There are more examples of 3D models and animation in the Case Studies
Other Applications
There are several 3D rendering and animation applications currently being used for design visualization. Each of them has a particular format that lends itself to import of 3D data. There is no real 'direct' conversion from Microstation to any of these applications. The format may be dependent on the types of elements being exported- rectilinear vs. curved entities, splines, and whether or not there are texture mapped materials. VRML is a pretty versatile format for most conversions, as is the new U3D format. Another possibility is to use a conversion application such as Right Hemisphere's Deep Exploration, or Okino Polytrans. These tools open several 3D formats, and export to any of several other formats.
