Basic Materials & Lighting
This chapter covers basic color and shader application and simple lighting techniques. For more advanced materials and lighting, see Advanced Materials and Lighting.
Setting Colors and Shading
The simplest way to control the color of objects is through the active color attribute for the element or level. If no material is applied to an object, it renders with its active color.
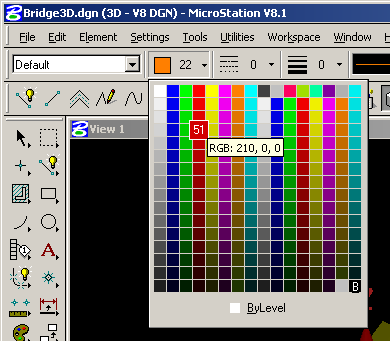
Clicking on the colored square on the Attributes Toolbar (default is at the upper left) brings up the color selection dialog. Select a color that best represents the type of object. The color can also be set to ByLevel, in which case the color for the objects could be set in the Level Manager dialog.
Materials can be applied to an element or layer using the materials palette tools found under Settings:
SETTINGS>RENDER>MATERIALS
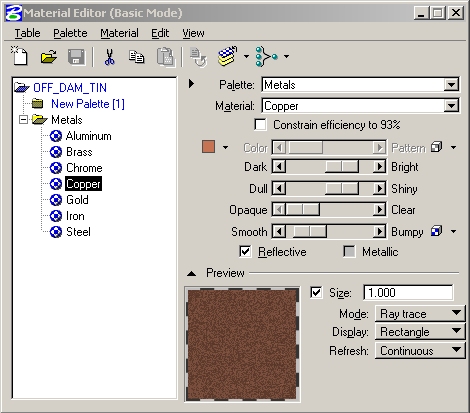
These features have been updated in the latest release of Microstation (2004), this guide shows dialogs and options from this release. Procedures in the earlier V8 release are similar, buttons may be in different locations and command names may be different. The easiest way to get started is to load a palette from the system library: pull down the Palette menu: PALETTE>OPEN. The default folder location is shown below, the system materials files may also be on a network location.
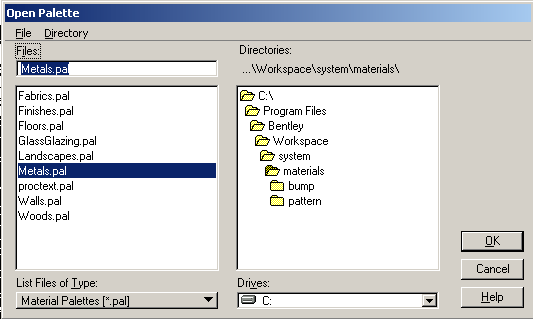
Select one of the existing palette files, each has a few materials definitions. Several Palettes can be opened at one time. These can be altered and saved under a new material and palette name. Be careful not to overwrite the system files. Select a material from the list and notice the settings below the material name on the right. The dialog allows the setting of the base color, overall brightness, shininess, opacity and bumpiness with simple controls. The Preview box at the bottom will display the material on a flat plane, a sphere, a cylinder or a box, depending on the Display setting on the lower right.
The material can be placed in the scene in one of two ways using the Assign Menu. The material can be assigned to a level and color, or attached directly to a selected element in the scene. Pull down the Material Menu from the Material Editor dialog:
ATERIAL>ASSIGN or MATERIAL>ATTACH to get the following dialog:
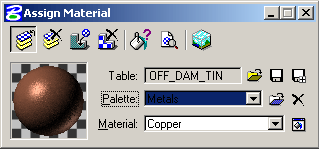
the buttons at the top allow switching between Assign by level/color and Attach to Element. Select an element in the scene, and the material is assigned. The viewport must be rendered in smooth or better to see curved surfaces properly, Phong will show lighting and reflections the best.
Setting up the Basic Lighting
Generic scene lighting is controlled through the Global Lighting dialog under Settings:
SETTINGS>RENDERING>GLOBAL LIGHTING
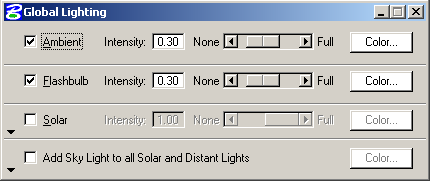
The ambient intensity controls the overall brightness of the scene, the flashbulb controls the highlights on objects. Ambient will illuminate everything evenly, the flashbulb will create highlights on objects based upon their glossiness, and is very directional. The default is generally pretty good, but to brighten a scene up overall, the ambient could be increased a little. To increase scene contrast, the ambient can be lowered and the flashbulb increased. The tint of the lighting can be altered as well, a warm dusky scene could be created by warming the color of the flashbulb.
